|
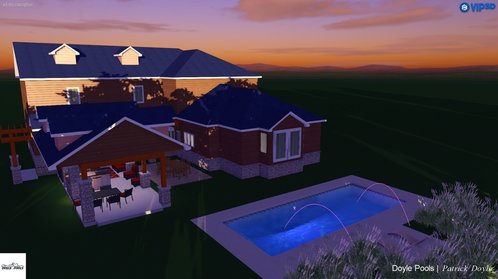
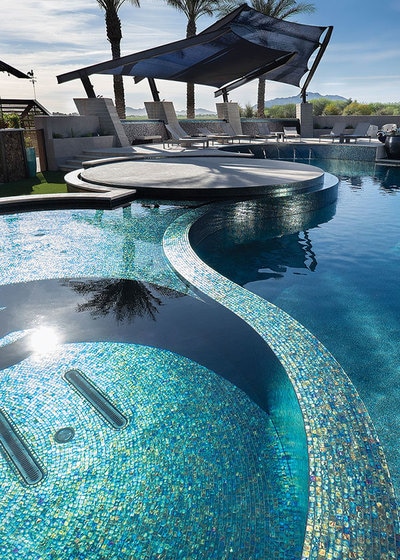
This custom inground pool has some unique features. It is a 14'x35' with a custom built in step that measures 7 ft wide. The floor of the pool is designed to play volleyball with deep area depth that measures 51" of water. The deck is 550 square feet of brushed concrete that cantilevers over the pool for a refined finished look. The interior of the pool has one color changing LED light. Positioned on both sides of the deck sitting area are laminar deck jets with color changing LED lights. Rather than a fence to surround the pool we have installed a ASTM approved Automatic Power Safety Cover by Coverstar. This technologically advanced cover will be opened and closed by a coded touch pad that will send info to any mobile devise and inform the user who has opened and closed the cover as well as how long it has remained open. All the functions of this pool including, pump and heater operation and laminar jets and lights are controlled from anywhere in the world through any mobile device with Pentair Easy touch automation.  The Mad Designer is the lead designer for Doyle Pools. In his extensive, world and outer space travels, while touring a pool chemical manufacture facility, he fell into a tank of experimental pool chemical, it changed his life forever. From his observations in life, he create designs in his head and with his computer he is able to bring them into a 3D perspective. When he isn’t creating his art, he can be found fishing where he lives in a van down by the river.
0 Comments
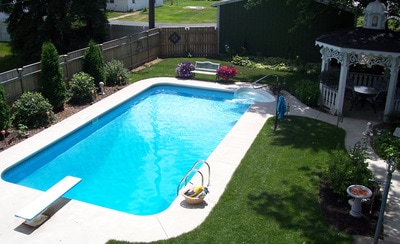
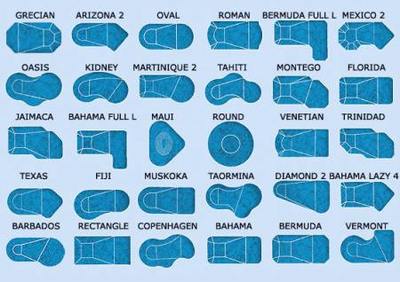
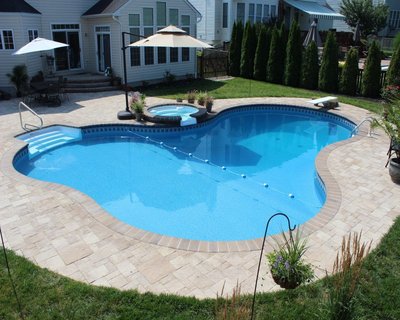
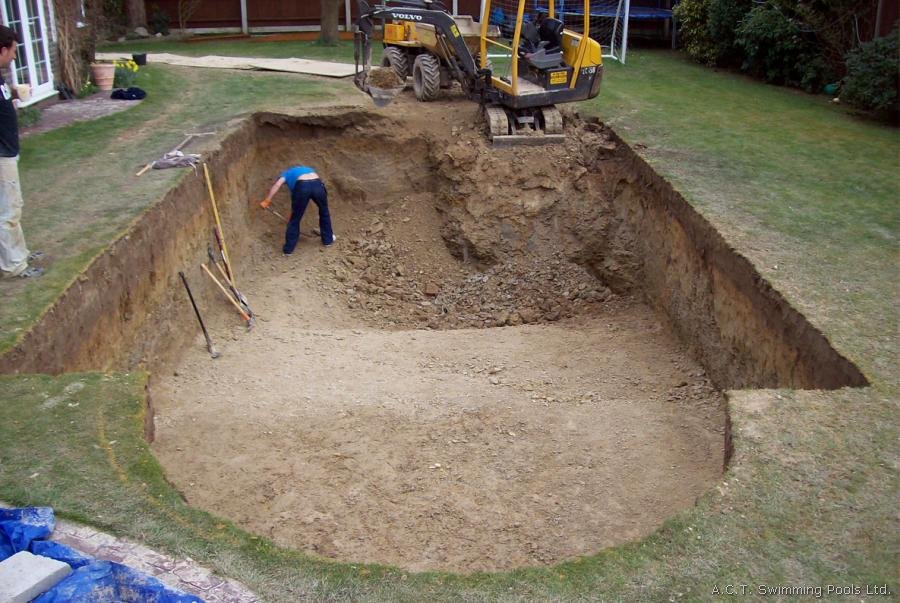
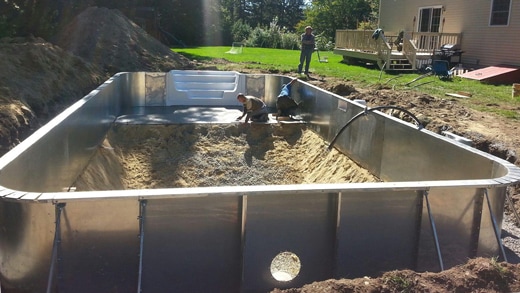
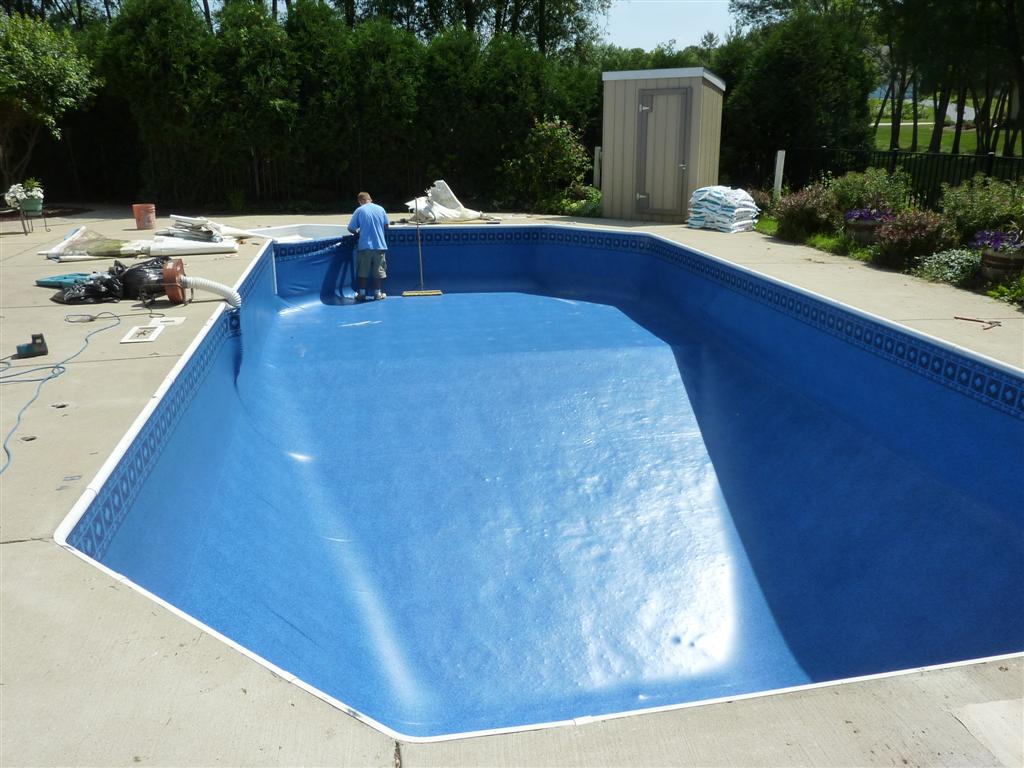
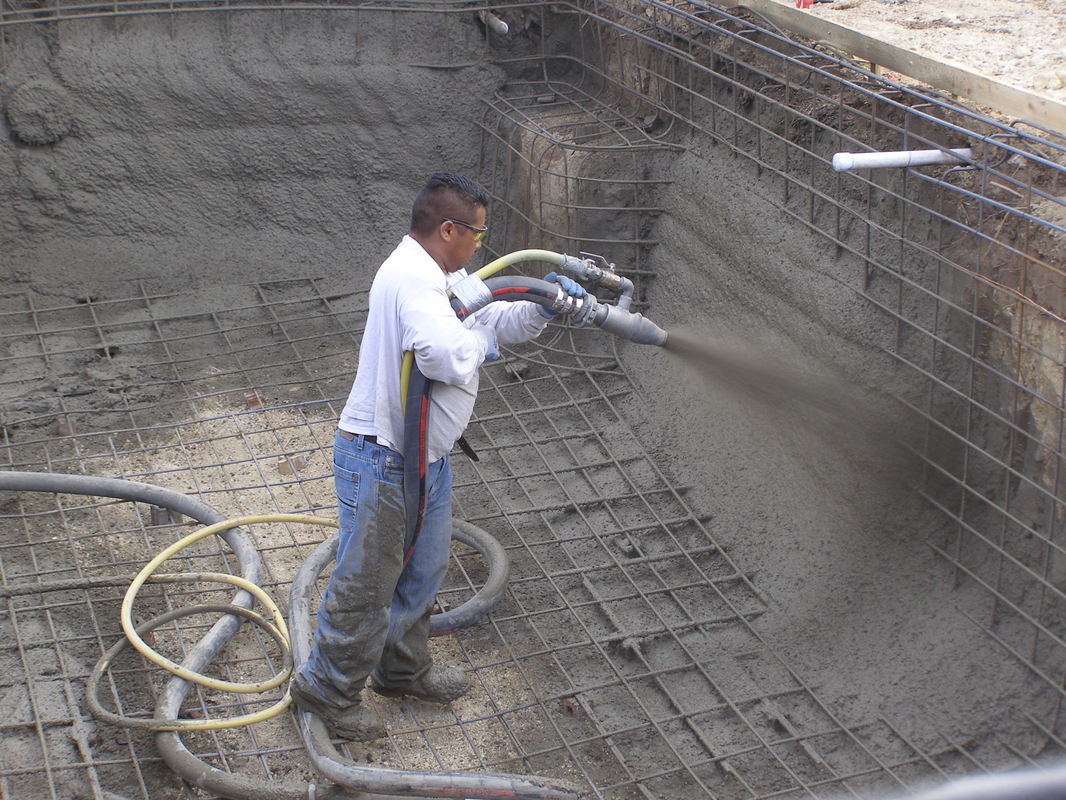
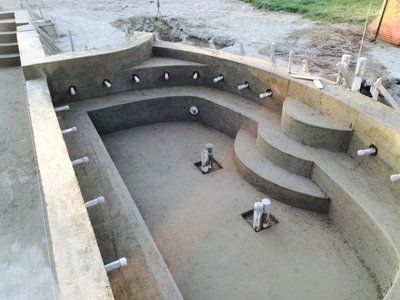
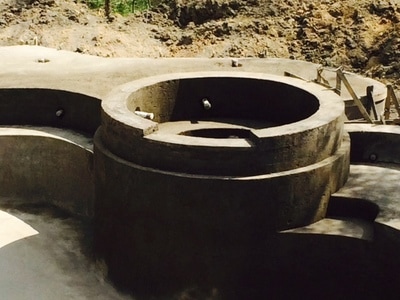
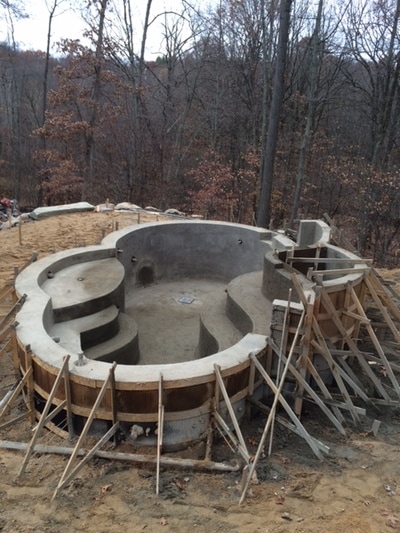
Typical pool construction is generally completed in 7 phases. In this article we will cover each of these phases and also some special considerations. Project Planning Early planning can save a lot of headaches. It’s a good idea to call your municipal and also your H.O.A. (Home Owners Association) and get their complete list of rules for new pool construction. Assuming that you will have your licensed contractor pulling the permit for your pool, it would still be a good idea for you to understand the permitting process for your municipal. This education could end up saving you a lot of time and avoiding aggravating delays. For instance, my first experience working in a township in the metro Detroit area I learned that they consider anything 9” above grade is an “outbuilding” and requires board approval. This board meet once a month and only takes a limited number of applications each month. Remember anything above 9” requires it. This particular proposed project was going to have a diving board and the top of it would be more than 9” above grade. We were trying to do this project in September but the board was not taking any more applications until December. The pool application and permit would be quick and easy to get but, out building (Diving Board) was going to take months. This delayed the project for an entire year. If you have an H.O.A they may have an application and approval process as well as a list of approved colors and materials. This is all good information for you to gather during your project planning phase. Design In this phase not only will you chose a size and shape of the pool, but you should also understand what pool equipment, such as what pump and filter will you be using. Your pool designer can help you understand the size required for your pool design. In this phase you will decided your pool will be a deep end hopper design for diving or a sport floor for water basketball or volleyball. You will chose how many ladders or steps and their locations and also features such as sheer descents, deck jets or bubblers just to name a few. Remember this is your pool and you will have it for a long time. You should understand everything about your project design, so that you can make the best decision for you and your family. Planning and layout In this phase someone needs to call Miss Dig at 811 before a shovel goes in the ground. This is a free service that is required by law. All your utilities will be flagged with their respective color flags. With your list of setback and all the little colored flags in the yard, you know exactly what kind of space to work with, and it’s time to lay out the final position of your pool. Excavation Say goodbye to your beautiful green grass and probably your irrigation system, because there is now saving them now. Just remember you have to break and egg to make an omelet. It’s time to dig a big hole. This hole could be hundreds of cubic yards of dirt, sod, and rocks, yet it’s not just a hole. This is a hole that will be the shape or your pool with incredible accuracy. Construction Now that the excavation is complete it’s time to put it all together. The pool will made of wall panels and will need to be bolted together in a particular order. The panels are supported with “A” frames to prevent the wall from tilting inward or outward. After all the wall panels are in their places and supported as needed, concrete will be poured as a footing at the bottom of the wall to lock it all together and make sure that the pool will never move. Coping or liner receiver will be bolted to the top of the wall panels also skimmer and returns attached to the wall panels. Finally, the floor can be shaped with pool base. Vinyl Liner Installation The liner locks into the coping or liner receiver without any special tools or hardware. We vacuums to suck the air out from between the liner and the wall. Now you can see how good the liner fits the shape of the pool before the water goes in. Special consideration will be taken to seal the liner to things such as main drains or steps. Deck installationThe timing deck installation will be decided on by a couple factors. Depending on the pool wall structure and decking materials used, the deck may be completed before the liner and water goes in and in other cases we may complete the deck after the liner and water goes in. It’s preferable to complete the deck before the liner and water, but isn’t always possible.  Pat founded Doyle Pools in 2001. His background in the pool industry has over 30 years of history and has put him into Business Management, Pool and Spa service and also Pool Construction positions. He is in charge of business management, project management and also project design. He is especially thankful to all his mentors and is proud to now be a mentor and advisor to others. Pat is a C.P.O (certified pool operator) and has won awards for the Most Beautiful Residential Pool and Best New Dealer by Fibre Tech Inc. Pat’s project won a Beautification Award by the City of Midland Mi. Pat’s has a passion for art and design and often jokingly quotes Oscar Levant “There Is a Fine Line between Genius and Insanity”. His three children are the center of his life. He love traveling and performance boating Gunite and Shotcrete are forms of pneumatically applied concrete, meaning they are sprayed on with a high-pressure air hose. Crews shoot the material over a reinforcing network of steel bars. As you research information on a potential new backyard swimming pool, you will often encounter the term “gunite.” What exactly is that anyway? Is it different from concrete? And what’s the deal with shotcrete—is that the same thing or something else? Gunite pools provide unparalleled levels of design flexibility and aesthetic quality. Let’s take a look at some basics about this material, how it’s used in pool construction, how close it is to shotcrete, and the great advantages that both gunite and shotcrete deliver. Three key elements unique to gunite pool construction Known for its dependable structural strength, gunite is a concrete blend of sand, cement, and water that’s applied through a high-pressure hose. Once it cures (dries), gunite becomes rock hard, forming a thick, solid structure. For decades, it has held a special place in swimming pool construction, where it is always paired with another strong building material—steel—as well as an interior finishing coat of plaster. After a hole is excavated for a new pool, crews install a network of steel bars, known as rebar. Carefully placed at specific intervals, these metal rods form a cage-like frame that extends throughout the entire stretch of the future pool, as well as the spa if there is one. Extra steel goes into areas requiring especially high levels of reinforcement, such as a deep end or free-standing raised wall. Set on concrete blocks, the cage is suspended several inches in the air so it does not touch the soil beneath it. This way, plenty of space remains to be filled in by fresh gunite material. With the steel backbone in place, the pool is ready for gunite. Crews spray the concrete blend at high velocity onto the steel across the entire pool, creating the dense pool floor and walls. Gunite is highly adaptable to the pool form; it produces flowing lines, various contours, depths, and shapes—all coming together in a cohesive, visually appealing structure. After the gunite properly cures, a third material is applied to complete a gunite pool: plaster. Composed of cement and marble dust, the smooth blend may also contain colored quartz aggregate for added durability and aesthetics. (For some pools, a high-end pebble plaster may be used.) Plaster is what actually waterproofs a gunite pool, and this final coating is what everyone sees as the pool’s gleaming interior surface. Other critical elements go into building a gunite pool, including tile, plumbing, electric, and perimeter coping. However, what sets gunite construction apart from other types of pool is the gunite, steel, and plaster. And what sets the completed project apart is the incredible durability and design versatility that this trio provides. Both gunite and shotcrete are used to build swimming pool shells—the rock-hard vessels that can withstand pressure from shifting soil and the weight of thousands of gallons of water. What’s shotcrete—and what’s the difference between it and gunite? |




 RSS Feed

